
Short version
- Body measurement charts are hard to use. Garment measurements are easier and more useful.
- Ask buyers to measure a favourite item that fits them well, then compare.
- Always say what to do if someone is between sizes.
- Show the size and height of the person in your photos.
- Put the size guide next to the size options, as real text, not as a picture.
If you're working out how to make a size guide, you've probably looked at the ones big brands use. A neat table of chest, waist and hip measurements for each size, with a little diagram of a body and arrows showing where to measure.
It looks professional. It also quietly fails a lot of buyers.
Here's why. To use a body measurement chart, the buyer needs a soft tape measure, a bit of privacy, maybe someone to help, and the patience to measure themselves accurately. Many don't own a soft tape measure.
Many guess. Many skip it entirely and just pick their usual size.
Then the parcel arrives, it doesn't fit, and it comes back.
This article shows a different way of building a size guide, one that most small brands never think of. It's easier for buyers to use, it fits handmade clothing better, and it can cut down a lot of those "wrong size" returns.
Why body measurement charts don't work as well as they look
There are a few hidden problems with body charts.
People measure themselves inaccurately
Pull the tape too tight, hold it at a slight angle, measure over a jumper, and the numbers are off. Even careful people get different results on different days.
Body size doesn't tell you how the garment fits
A chart might say "Size M fits a 96 cm chest". But how much room is there?
Is it fitted or relaxed? Will it be loose on someone with a 92 cm chest? The body chart doesn't say.
Handmade clothes often don't follow standard sizing
If you make your own patterns, your M may not match another brand's M. Buyers who assume "I'm always a medium" can end up surprised.
People don't have a tape measure handy
This one is simple, and it's huge. If someone is browsing on their phone on the bus, they can't measure themselves right then. They'll either guess, or leave and forget to come back.
Meet Pebbledash Kids, and the dungarees that kept coming back
This is an illustrative example.
Pebbledash Kids is a small brand run by Orla, who makes children's dungarees and pinafores from cord and denim, sized from 1 to 8 years.
Her size guide was a classic body chart. Age, height, chest and waist for each size.
About one in eight orders came back for a different size. That might not sound like much, but every return meant postage both ways, repacking, and a disappointed parent waiting another week.
When Orla looked at the return notes, a pattern jumped out.
Why Pebbledash dungarees came back
- "She's 4 but tall for her age. Should have gone up."
- "Too long in the leg, he's quite short."
- "Wanted room to grow, didn't realise they were so roomy already."
- "Measured her but the numbers were between two sizes."
- "Bought for my nephew, guessed his size."
Most of these weren't about measuring wrongly. They were about the guide not answering the question each parent actually had.
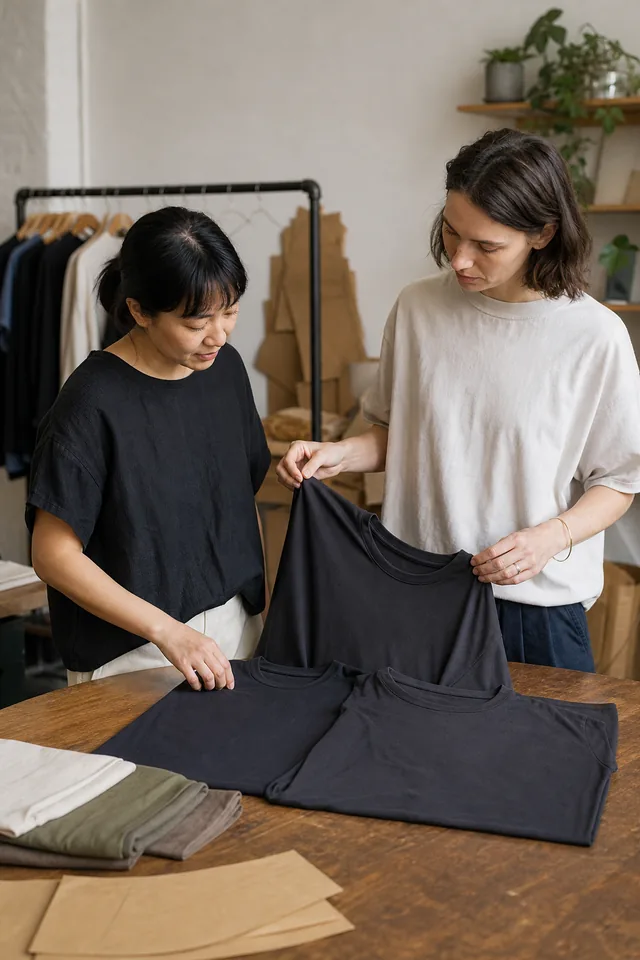
Measure the garment, not just the body
The first big change is to add garment measurements to your size guide.
These are measurements of the actual item, laid flat. For dungarees, that might be:
- Chest width, measured across the bib, armpit to armpit
- Total length, from the top of the strap to the hem
- Inside leg, from the crotch seam to the hem
- Waist width, laid flat
Garment measurements tell buyers how big the clothing really is, not just who it's meant to fit. Combined with body measurements, they give a much fuller picture.
How to measure a garment for a size chart
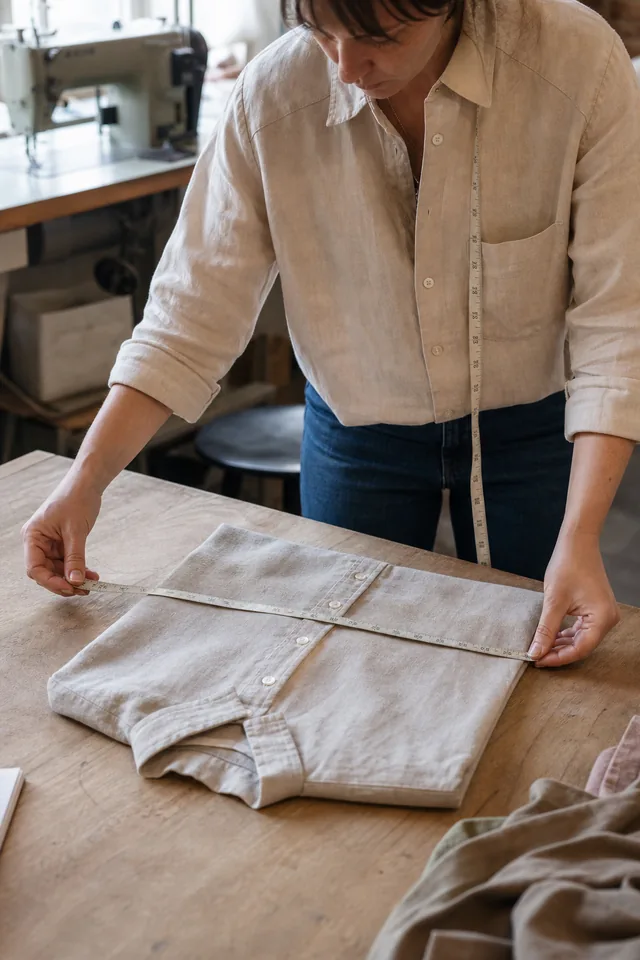
Lay the garment flat on a table, smooth but not stretched. Measure with a ruler or a metal tape. Write down each measurement in centimetres and inches.
Measure more than one item from each size if you can, because handmade items can vary slightly. Use the average, and round sensibly.
Most importantly, say in your guide that these are garment measurements, laid flat. Buyers need to know whether the numbers describe the clothes or the body.
| Size | Chest (flat, across) | Total length | Inside leg |
|---|---|---|---|
| 2 to 3 years | 30 cm (11.8 in) | 68 cm (26.8 in) | 33 cm (13 in) |
| 3 to 4 years | 32 cm (12.6 in) | 74 cm (29.1 in) | 37 cm (14.6 in) |
| 4 to 5 years | 34 cm (13.4 in) | 80 cm (31.5 in) | 41 cm (16.1 in) |
The trick most size guides miss: measure something they already own
Here's the idea at the heart of this article.
Instead of asking buyers to measure their body, ask them to measure a piece of clothing they already own that fits well.
For a parent, that's easy. They go to the drawer, pull out their child's favourite trousers, lay them flat on the bed and measure the inside leg.
No wriggling child, no tape measure tricks. Just a quick measurement of something they know fits.
Then they compare that number with your garment measurements.
Orla added this to the top of her size guide:
The easiest way to choose a size
Find a pair of trousers your child wears now that fit well.
Lay them flat and measure the inside leg, from the crotch seam to the hem.
Choose the size where our inside leg is the same or a little longer.
If you'd like room to grow, go for the size where ours is 3 to 4 cm longer. The legs can be rolled up for now.
This simple change did more than anything else. Parents found it much easier, and the measurements were far more accurate. Returns for wrong size dropped noticeably over the next few months.
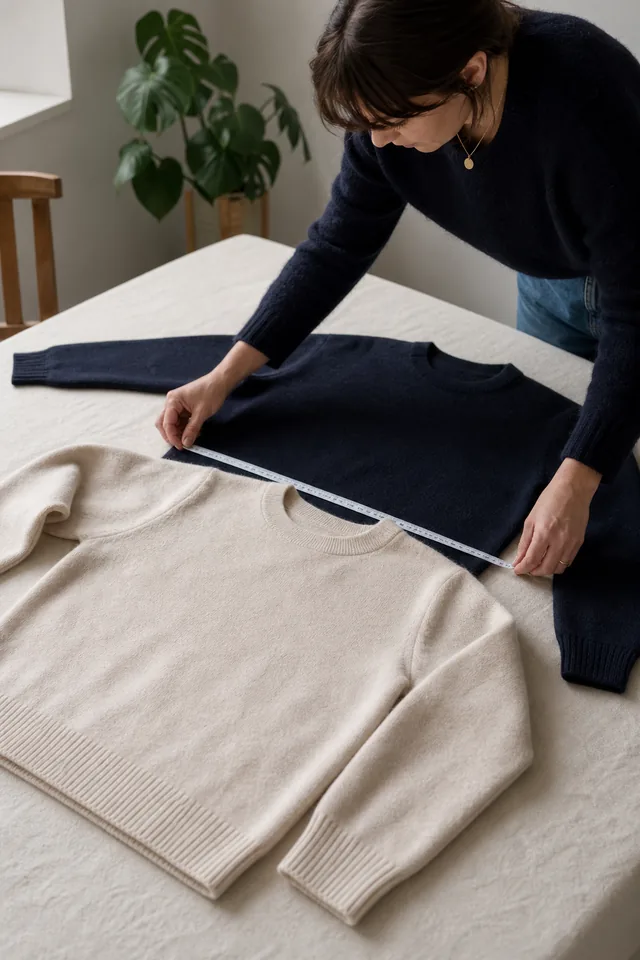
It works for adult clothing too. "Measure a jumper that fits you well, armpit to armpit, and compare it with our chest measurement."
Always say what to do between sizes
"Between sizes" is one of the most common reasons people hesitate or choose wrong. Your size guide should answer it directly, for each product.
Ask yourself: if someone is between two sizes, which way should they go? It depends on the item.
- A fitted shirt might be better a size up.
- A roomy jumper might be better a size down.
- Children's clothes are often better a size up, for growing room.
- Something with adjustable straps might be fine either way.
Write it plainly. "If you're between sizes, go up. These are designed with a relaxed fit, and the straps adjust." That one sentence saves a lot of guesswork.
Age ranges aren't enough for children's clothing
If you sell children's clothing, you'll know the age-range problem. Two four-year-olds can be very different heights.
Age is a quick guide, but height is much more reliable. Include height ranges for each size, and encourage parents to use height over age.
"Our sizes are based on height. If your child is tall for their age, choose by height rather than age."
That one line answered the most common return reason in Orla's notes.
Show who's wearing it, and what size
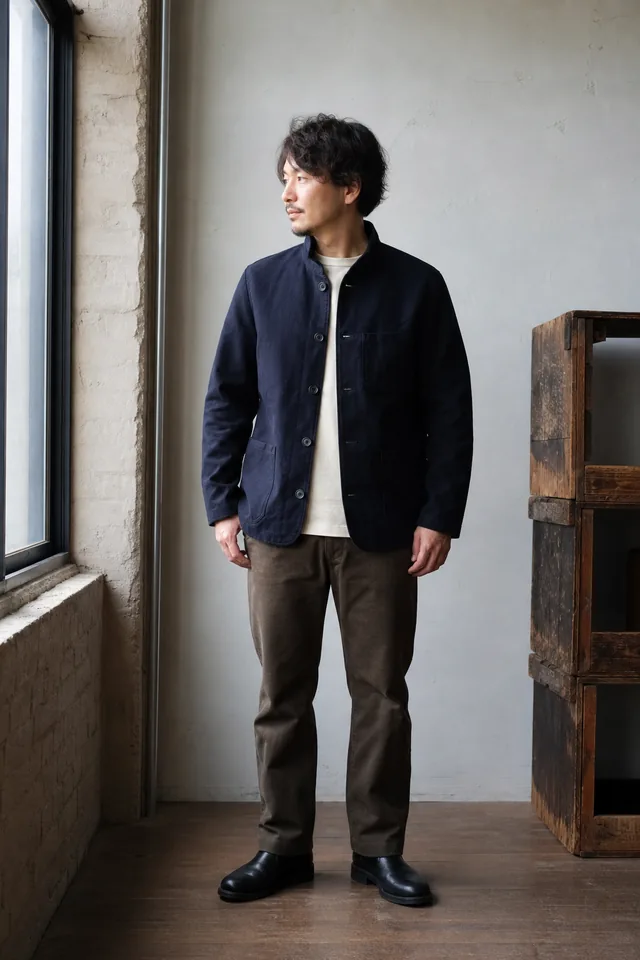
Photos of clothing on a person are far more useful when you say who that person is.
Add a short line under the photos or in the description:
- "Model is 4 years old, 104 cm tall, wearing size 4 to 5."
- "Maeve is 165 cm and wears a size S."
This gives buyers a real reference point. They can compare themselves or their child with the model and see how the garment fits on that body.
If you use customer photos, ask customers to share their height and size, with permission. Real people of different heights, all wearing your clothes, is one of the most powerful size guides there is.
Describe the fit in plain words
Numbers only tell part of the story. Buyers also want to know how it feels.
Add a short description of the fit:
- "Relaxed fit, with room for a jumper underneath."
- "Close fitting through the body, roomy in the leg."
- "Generous in length, so they last longer."
- "The cord has a little stretch, the denim doesn't."
These small details help people picture the fit. They're especially useful when you offer the same design in different fabrics that fit slightly differently.
Put the size guide where people choose a size
A size guide only works if people see it at the right moment. That moment is when they're choosing a size.
So put a clear "Size guide" link right next to the size options, or show a short version of the key information right there.
Use real text, not a picture
Many shops upload their size guide as an image. That causes problems.
- On a phone, the image is often tiny and hard to read.
- People using screen readers can't read an image of a table.
- Search engines can't read the information either.
- It's harder to update when your sizes change.
Use a real text table instead, or at least have the information in text alongside the image. Most shop platforms let you add a table to a product page or a pop-up.
Keep the key line visible
Even with a full guide one click away, a short line near the size options helps. "Runs roomy. Most people choose their usual size." Or "Measure a pair of trousers that fit and compare inside leg."
Many buyers won't click into the full guide. This line catches them.

Help gift buyers too
Many clothing orders are gifts. Gift buyers often can't measure the person or check a favourite item.
Give them some help:
- Suggest the safer choice if they're unsure, usually a size up for children.
- Make exchanges easy for gifts, and say so near the size options.
- Offer gift receipts or a size exchange card in the parcel.
Orla added: "Buying as a gift? If you're unsure, choose by age and we'll happily exchange the size." Fewer gift buyers gave up, and the exchanges that did happen were smooth.
Use your returns to keep improving the guide
Every return for wrong size is information. Ask why, if you can, and keep a note.
If lots of people say a particular item runs small, update the guide for that item. If lots say they chose by age and the child is tall, make the height advice more prominent. If a fabric fits differently, say so.
Your size guide should change over time as you learn from real buyers. Review it every few months, alongside your return notes.
Sizing for things that aren't clothes
The same ideas work for any product where size has to fit a body: rings, bracelets, hats, watch straps, belts, gloves.
The "measure something you already own" trick works especially well here.
- Rings: "Measure the inside of a ring that fits the finger you want, straight across, and compare it with our sizes."
- Bracelets: "Wrap a strip of paper around your wrist where you'd wear it, mark where it meets, then measure the paper."
- Hats: "Wrap a piece of string around your head where a hat would sit, then measure the string with a ruler."
- Belts: "Measure a belt you already wear, from the buckle end to the hole you use most."
Every one of these uses things people have at home: paper, string, a ruler, something they already wear. No special tools needed.
For very small differences, like ring sizes, be extra careful. A half size matters.
Encourage people to measure twice, and tell them which way to go if they're between sizes. Rings are usually best a little bigger if in doubt, because knuckles need to pass through.
Make "Can you check this for me?" easy to answer
Some buyers will still message you with questions about size. That's a good thing. A question before buying is far better than a return afterwards.
Make it easy for them to ask. Add a line near your size guide: "Not sure? Send us your child's height and inside leg, and we'll tell you which size we'd choose."
Then answer quickly. Orla keeps a short saved reply she adapts each time:
Orla's size help reply
Thanks for asking. With a height of 104 cm and an inside leg of 38 cm, I'd go for the 4 to 5. That gives about 3 cm of growing room in the leg, and you can roll the hems for now.
If they're especially slim, the 3 to 4 would also work, but they'd grow out of it sooner.
These replies take a minute or two. They often turn a hesitant browser into a buyer who orders the right size first time.
Keep a note of the questions too. If the same one comes up again and again, it belongs in the size guide itself.
Test your size guide on someone who's never seen it
Before you publish a new or updated size guide, try it out on a real person.
Ask a friend or family member who hasn't seen your clothes to pick a size for themselves or their child, using only your product page. Don't help them. Just watch.
Notice where they hesitate. Do they find the size guide link?
Do they understand what "laid flat" means? Do they know which measurement matters most? Do they end up choosing the size you'd have recommended?
Orla tried this with her sister, who has two children. Her sister went straight to the age column, ignored the height note, and picked a size that would have been too short for her tall six-year-old. That told Orla the height advice needed to be bolder, and placed right next to the size buttons, not buried in the table.
Ten minutes of watching someone use your guide will show you problems you'd never spot yourself, because you already know how your sizes work.
Your size guide checklist
- My guide includes garment measurements, laid flat, as well as body measurements.
- I tell buyers they can measure something they own that fits well and compare.
- Each product says what to do if someone is between sizes.
- Children's sizes include height ranges, not just ages.
- Photos say the model's height and the size they're wearing.
- I describe the fit in plain words.
- The size guide is next to the size options, as real text.
- There's a short, visible sizing line for people who won't click through.
- Gift buyers get clear advice and an easy exchange option.
- I update the guide based on return reasons.
Make choosing a size feel easy
A good size guide doesn't have to be complicated. It needs to answer the questions buyers really have: How big is it? How does it fit?
What if I'm between sizes? What if I'm buying for someone else?
Start with the trick that works so well: ask them to measure something they already own and love. Add garment measurements, a clear between-sizes rule and honest fit notes.
Then watch your "wrong size" returns start to fall, and your customers start to trust that what they order will fit.
Keep going
Content Creation / Practical guide
How to show product size in photos so nobody says "smaller than I expected"
Most size complaints aren't about the product. They're about a photo that let the customer imagine the wrong thing. A few clear pictures fix that before it starts.

Product Pages / Practical guide
Help Buyers Choose Between Product Options: Name Each Choice by What It's For, Not by What It Is to You
An option picker that says "Coarse, Medium, Fine" looks helpful and hands the hard part to the buyer. Name each option by the job it does, explain what really changes, separate the choices that decide suitability from the ones that are taste, and test the option nobody checks.